Followers

Showing posts with label Eyelets. Show all posts

Tuesday, December 29, 2015

Christmas Bear

Good morning! I hope you all had a WONDERFUL Christmas!! We had a really nice Christmas with the family. Michael had to work on Christmas day, so I took him down to see my sister and mother on Christmas Eve. He opened all his gifts and was able to spend time with them. Bailey is in California of course, with her father. On Christmas Day, we dropped Michael off at work and then headed down to my sisters. We spent a lot of the day down there. We had lobster tails and steak for dinner. It was beautiful! Then we headed home, thinking that we had to pick up Michael a little after 4 pm. He didn't get home until much later.

Then on Sunday night my oldest daughter came back. She had an eye appointment yesterday. She has some holes in her retina which can cause a retinal detachment if not treated. She will need to get laser surgery on her eyes. She also has to do some special testing on her eyes. She is going to Colorado right after the 1st of the year, so her test is set up for the 12th after she returns. Then the first eye will have surgery on the 26th and the 2nd eye will be done on February 9th. She has always had terrible eyes.

And after spending the day with Taylor I realized she has this terrible cough. When I asked her how long she has had it she says.. a while! So I told her I was going to try to get her in to see the doctor today. I'm just waiting until they are there to call in. I'm hoping they can get her in this morning. I know she wants to go back home. So that is it for us. I'm trying to enjoy my last week off. Getting the Open-Minded Crafting Fun challenge ready for the 10th of January and trying to get some crafting and coloring done.

Here is my share this morning:


For this card I've used Gift Stack Teddy which you can find in the From The Heart Shop. I've colored the image with my Copic Markers. I've done a small bit of layering. I've also used some clear Wink of Stella to give some of the gifts sparkle. I did a bit of distressing on the papers. All of these papers are scraps. I did a bit of hand stitching on the image. I used Snow Marker for the white parts of the hat to add some dimension there. I added a charm there as well. I've added some thread with beads and bells across the top of the card. I also added two light blue snowflake eyelets. I used the same papers, all distressed, on the inside as well.

Copic Markers Used:
  • Bear: B21, B23, B24
  • Red Hat, Ribbon and Gift Wrap: R20, R22, R24, R29
  • Gold Wrap: Y00, Y11, Y15, YR23
  • Silver Wrap: C00, C1, C3, C5
  • Blue Wrap: B0000, B00, B02, B04
  • Green Wrap: G21, G24, G28
  • Pink Wrap: RV21, RV23, RV29
  • Purple Wrap: BV02, BV04, BV08
 Challenges:


Thursday, March 19, 2015

March Cuddly Buddly #2

Good morning everyone! Today is Thursday -- Woot Woot!!  I had my last clearance today for surgery, Cardiovascular, but I left disappointed! He is making me do a stress test with Echo, so that puts everything off for at least a couple of more weeks. I will go in for the stress test on the 30th of March. Oh well! Better safe than sorry .. so I just need to suck it up and get ready for the stress test I guess! If I pass that then I'm all cleared. I meet with the Bariatric Surgeon on Monday... so we will see what he says and go from there.

Alright... enough of my disappointing morning LOL  On to more fun things!  Today I'm sharing my second Cuddly Buddly creation with you for March!


For this one I have used Snow Buddies - Pachela Studios, which you can find at the Cuddly Buddly  Digital Shop!! I colored this image with my Prismacolor Pencils. I'm trying to work with both the Prismacolor Pencils and Faber-Castell Polychromos to improve my coloring! I layered the rim of the hat and the front of the scarf. The papers are all from my scrap box; Still trying to use up my scraps!! The edge of the card is lined with a Memory Box snowflake die. The circle is a Spellbinders die and then I added the two different shades of blue snowflake eyelets. I have used eyelets in such a long time! I stamped Snow Day from one of my Kraftin' Kimmie Stamp Set -- Snow Day Lucas. I added the white and pearl dew drops, some lace and a bit of stitching to finish it off! For the inside I used some more of those scrap papers and added some additional lace and dew drops to finish it off.

Challenges:

Tuesday, November 5, 2013

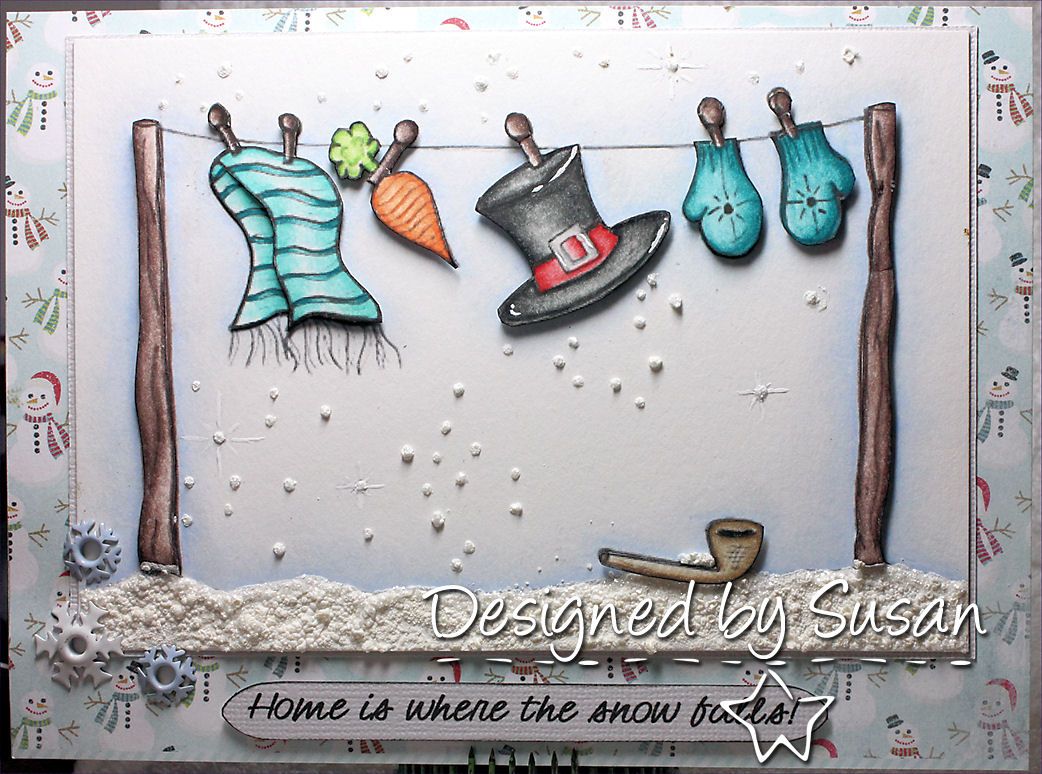
Snowman Laundry.

Good morning everyone!! And happy Tuesday.. is it really only Tuesday??!!?? LOL  o.0  So, I've been thinking over the past few days about trying to put my cards online to sell. I figure I will give my family the website with the hope that they will pass it on LOL  I have no idea how to do this or if it will work. I'm going to start a shop at Zibbet I think. So, if you have any advice at all.. please share!! LOL

Keep posting the cards I managed to get done ;)  Here is my next share...

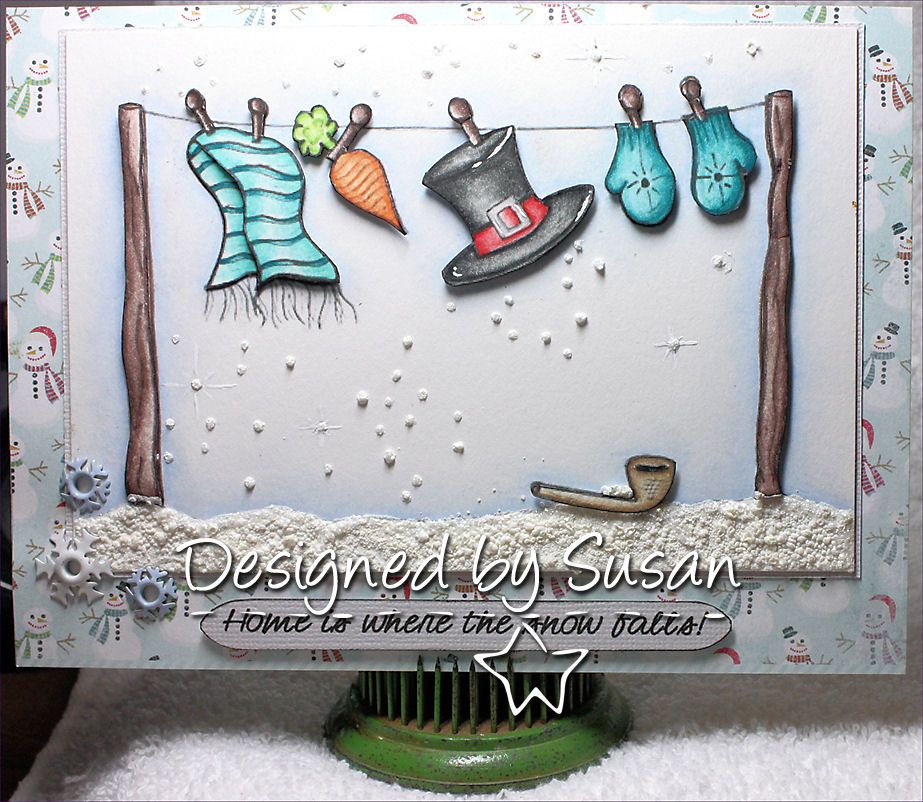
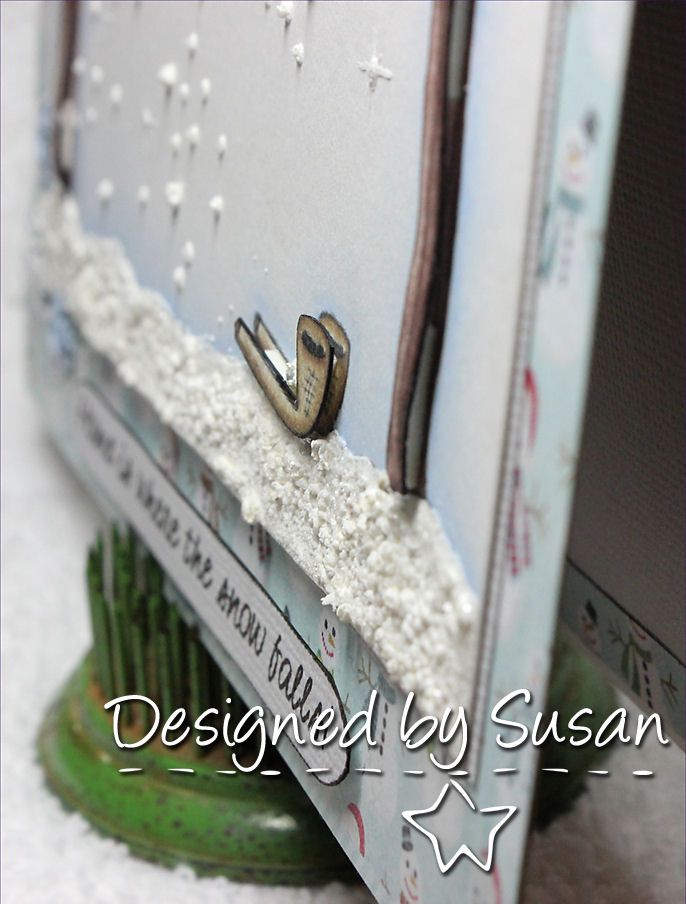
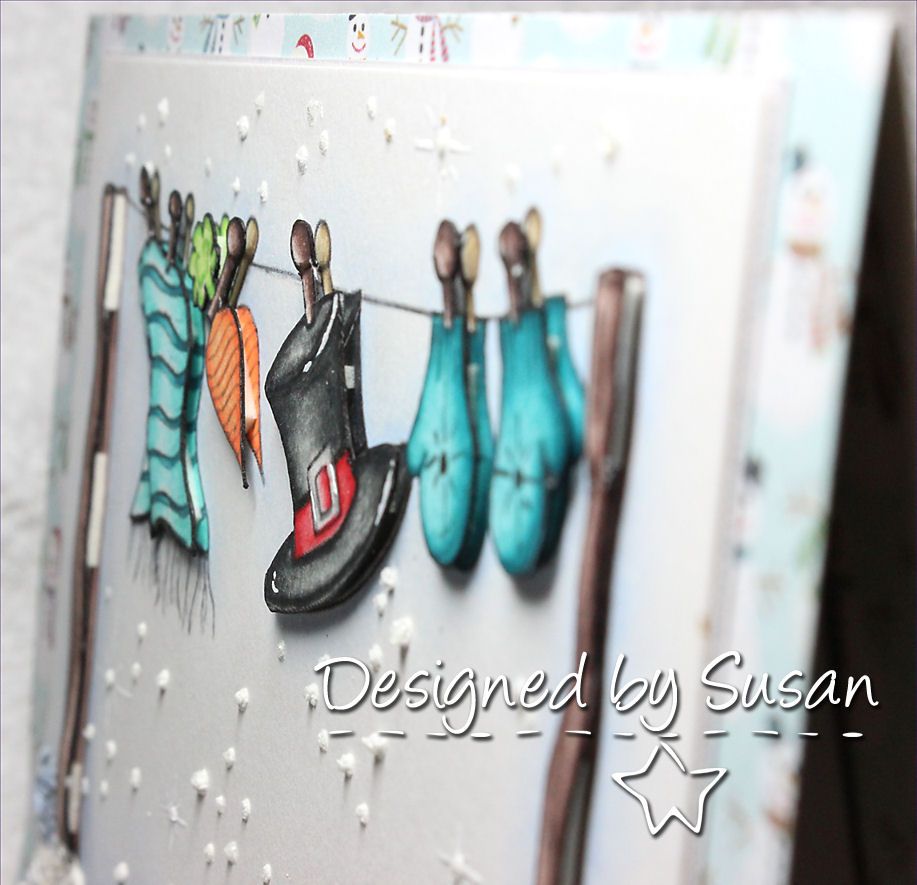
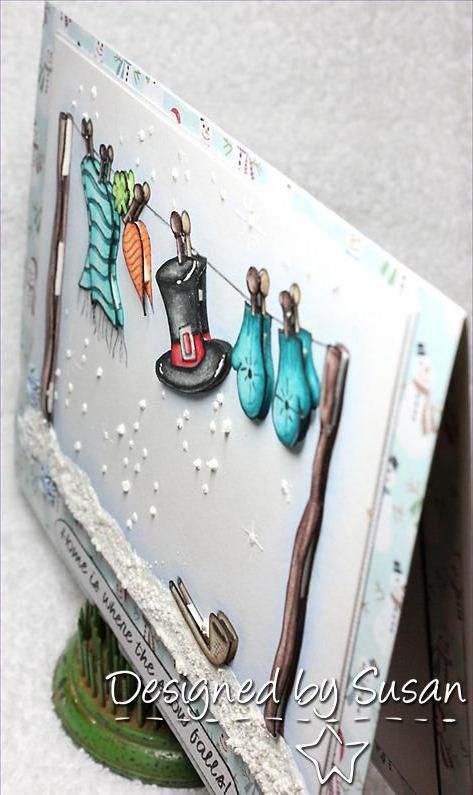
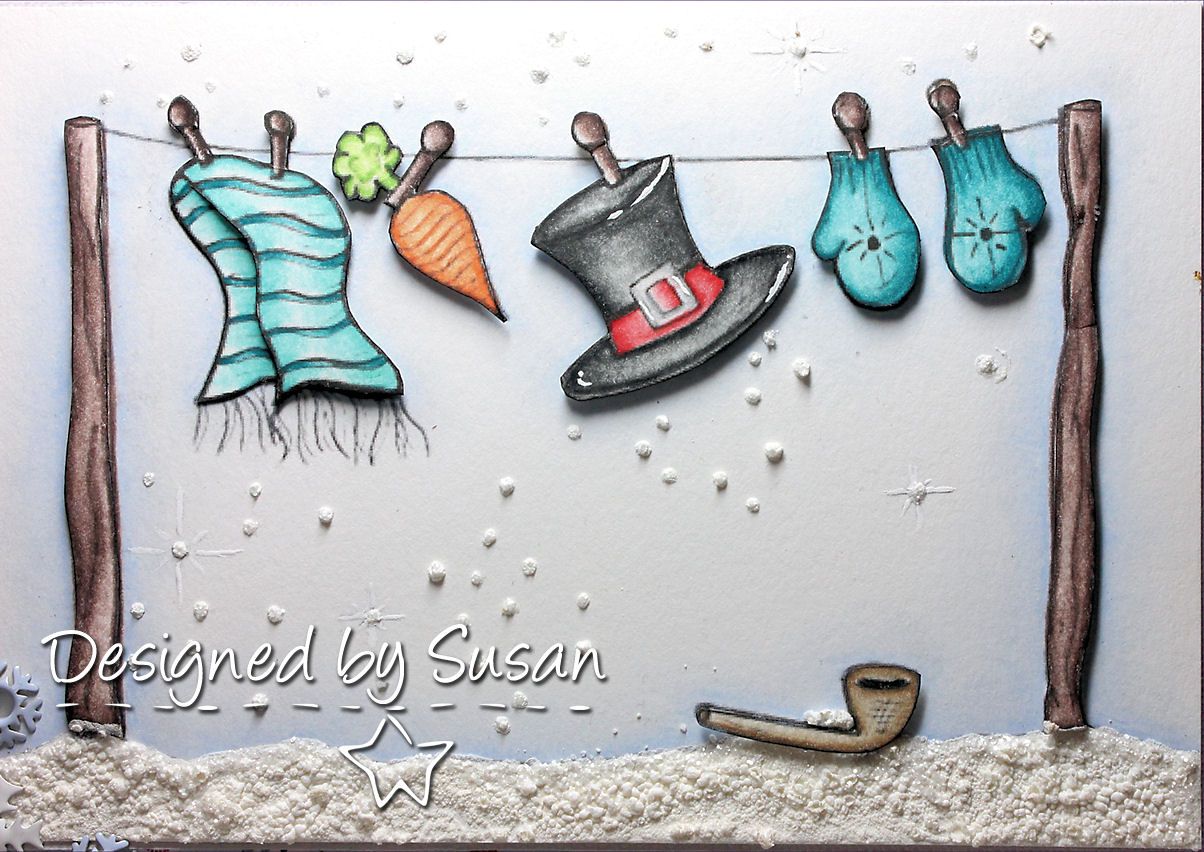
This is an image from The Stamping Boutique. I absolutely LOVE their laundry line images LOL They are too cute! I want them all! I made the image quite large, so it's a pretty simple card. I used papers from My Minds Eye - Winter Wonderland. I thought those little snowmen were just perfect LOL I colored up the image with my Prismacolor pencils... you will notice that a LOT of these cards coming up are colored with my Prismacolor pencils. I have had these printed out for ages on art paper and I finally got around to coloring them all up with my pencils. And it was so fun.. I love my Prismacolor pencils and my Gamsol! Of course I did a bit of decoupage LOL  I popped the sticks holding the line, the front of the scarf, .. Okay.. I popped everything except for the back of the scarf LOL!  I also added three snowflake eyelets .. yep.. that's what I said! Eyelets!! Remember those?? LOL  And the snow was with my Snow Marker by Marvvy. I LOVE that thing so much!! You put it on, heat it up and poof! You have awesome snow or hat puffy-ness! Really great! So thats it. I added the snow at the bottom and the little bit in the middle.

Okay everyone.. don't forget to go over to Open-Minded Crafting Fun and apply for that Design Team!!!  Go now!! Hurry!! ;)  Yes.. I will be reminding you every day!!


Top Tip Tuesday: I found that when I color with Copic markers, it looks better if I use chalk for the blushing of cheeks and such. It looks much softer and blends more.

Challenges:


Monday, June 24, 2013

Tammy's Scrapin Corner Challenge #68

Good morning! I have spent the weekend crafting. It has been a nice, relaxing weekend. We have a new member of the family. We have had her for a week now, her name is Brisket. She is our new dog that we saved from being put to sleep. She is about 18 months old and she is really fitting in well. She is a really good dog and she seems to be settling down and happy. I'll have to post some photos! So, now we have T-Bone and Brisket... to keep with the steak cut names LOL I hope you all have a great week... off to work time!

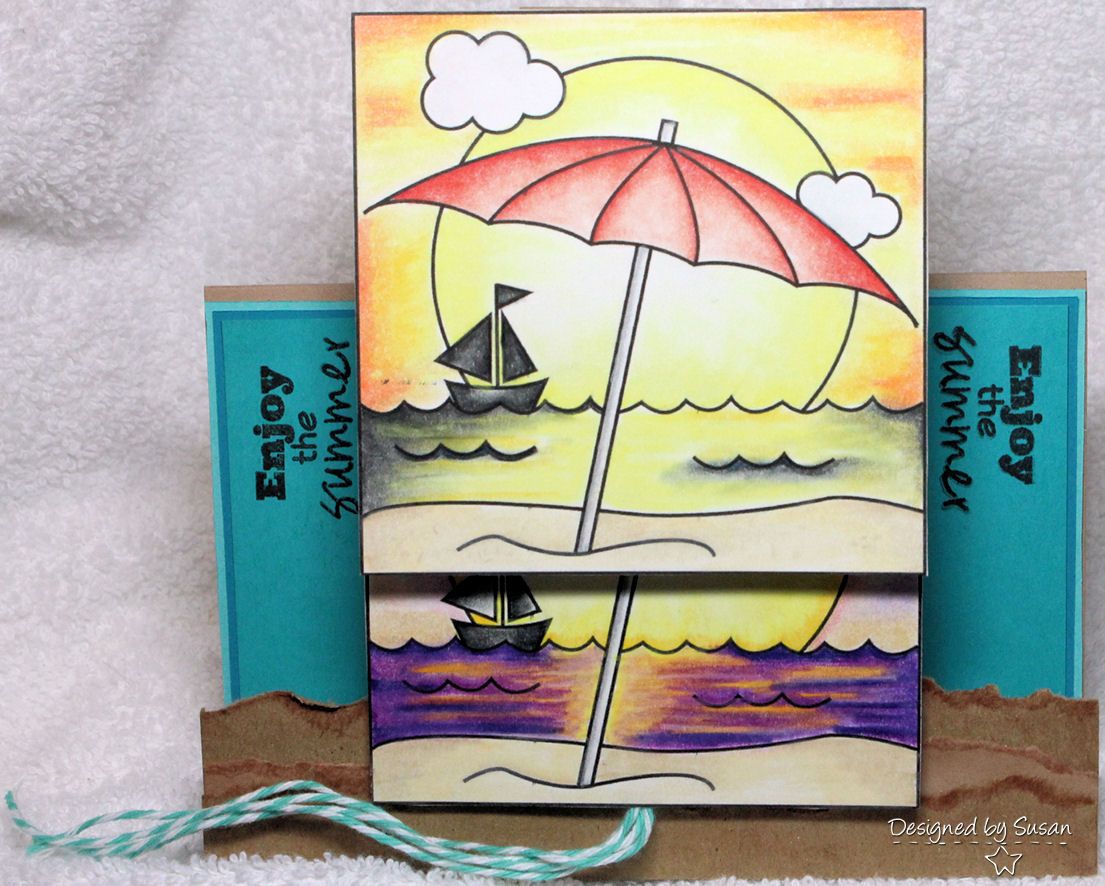
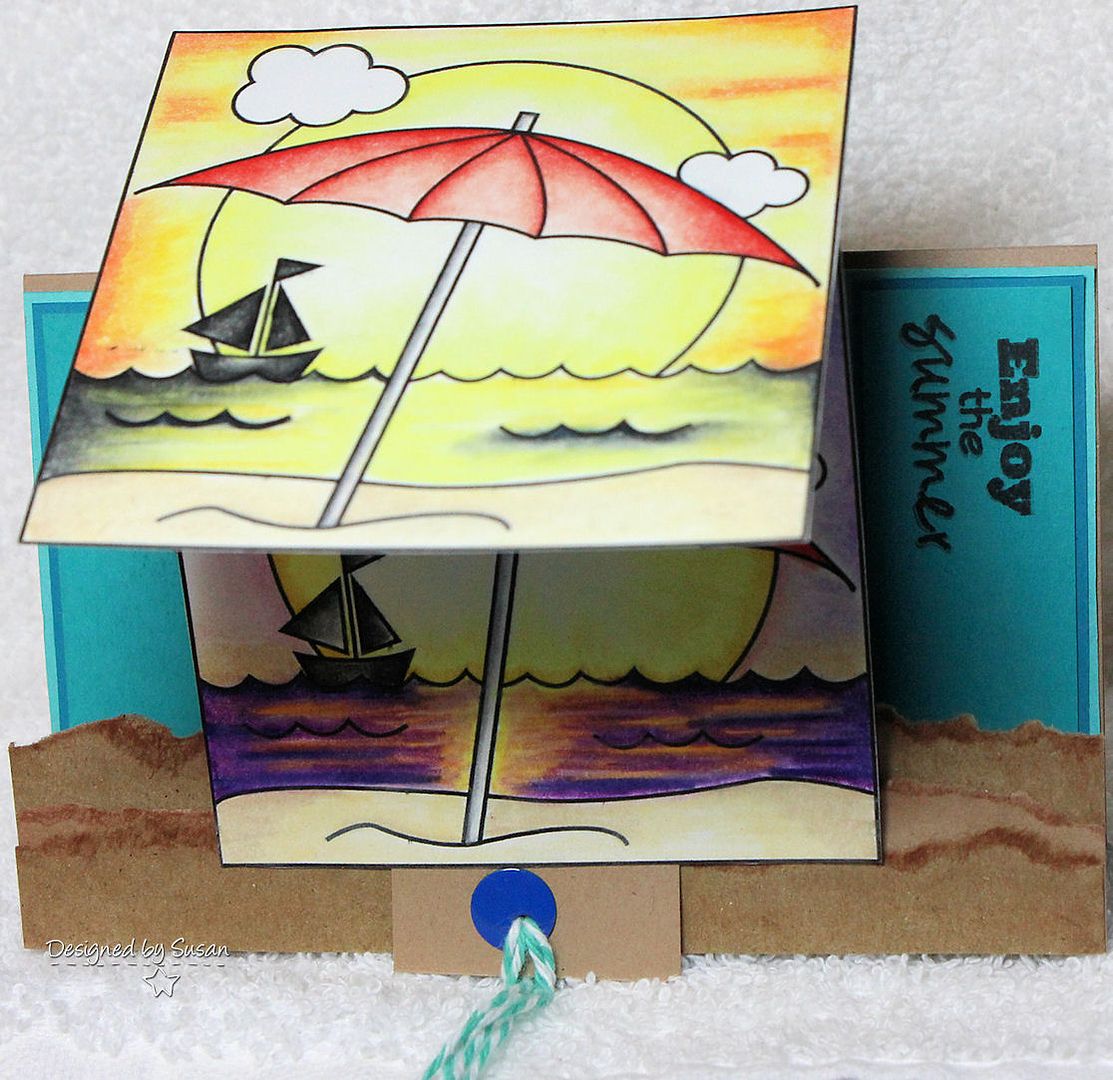
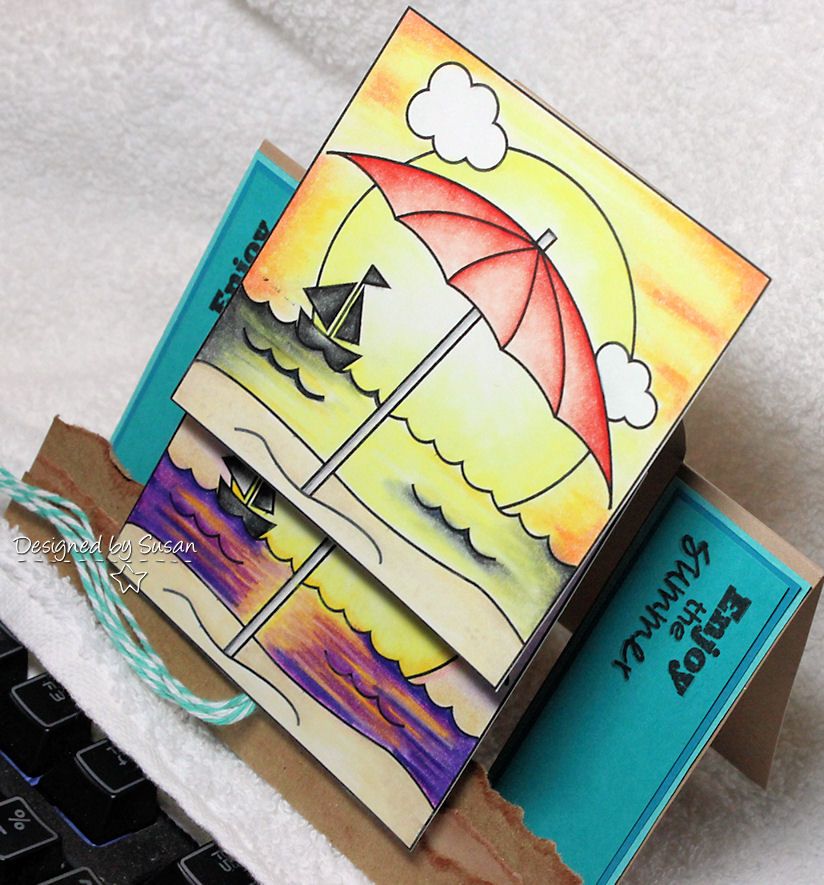
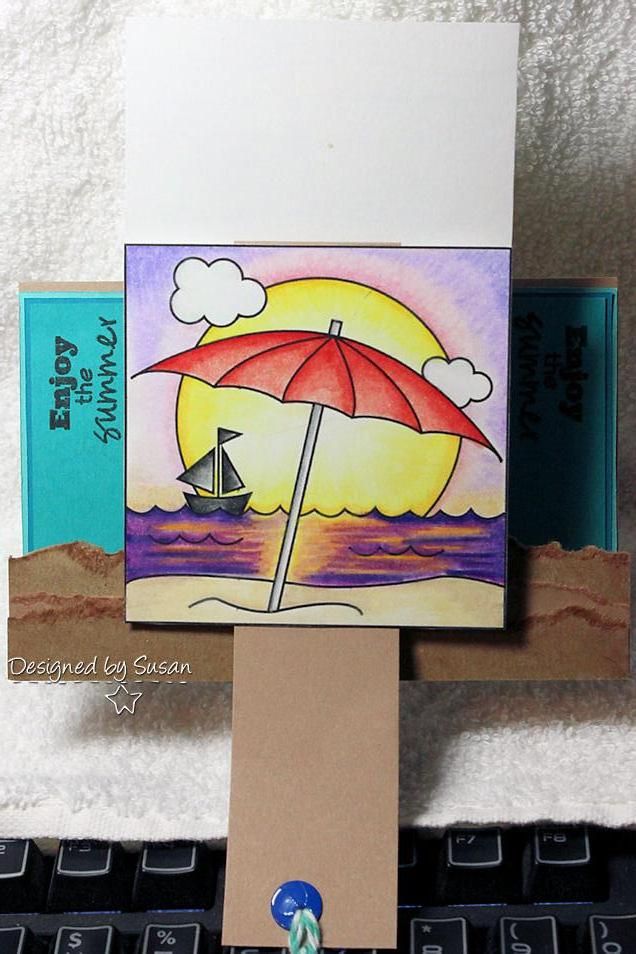
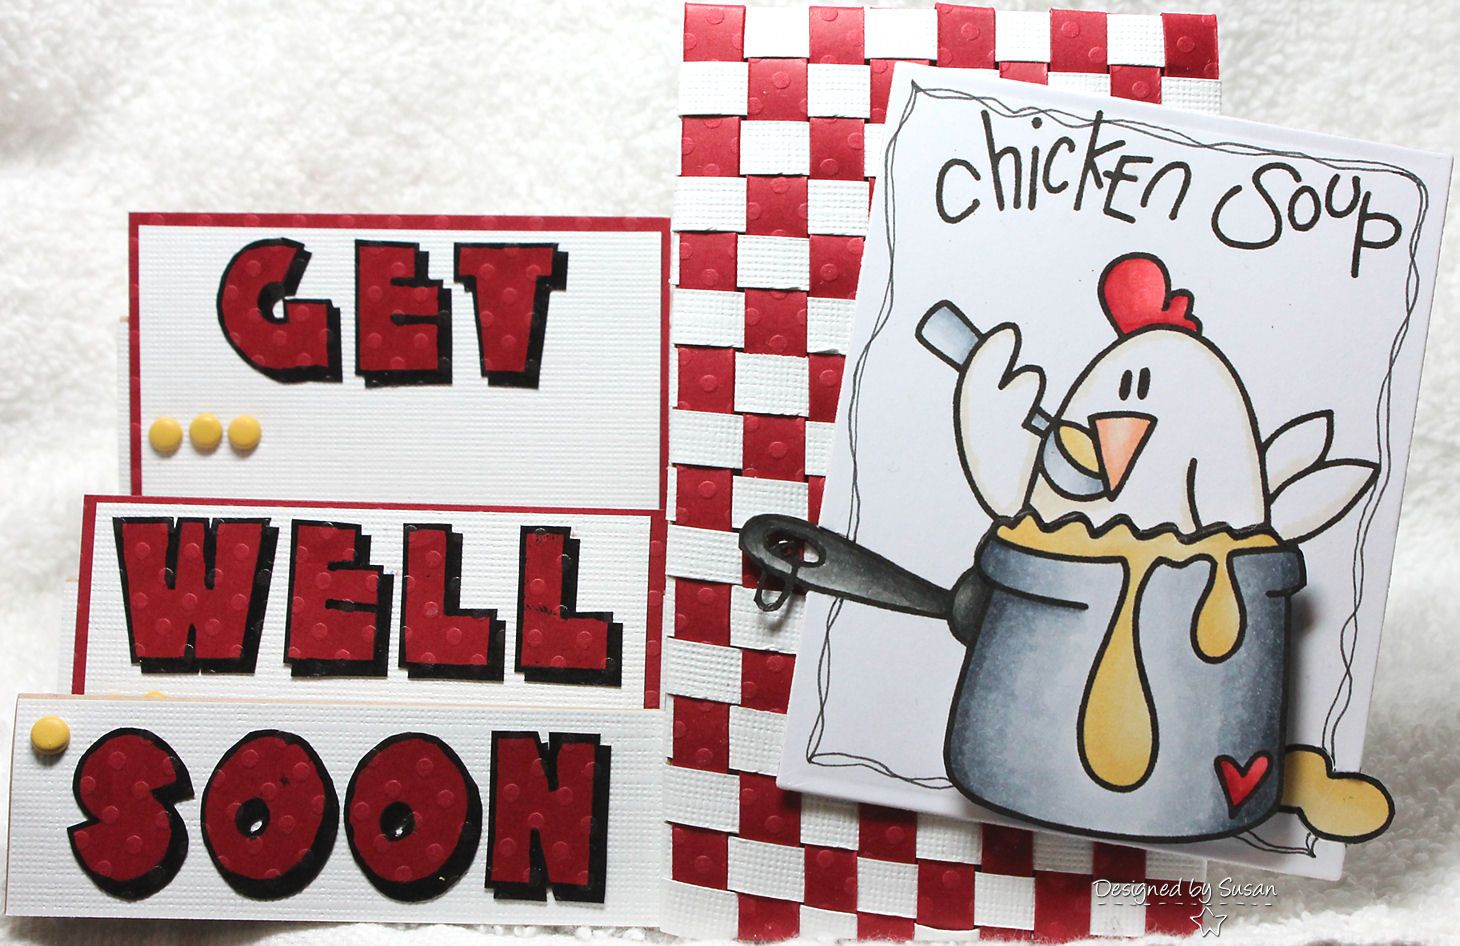
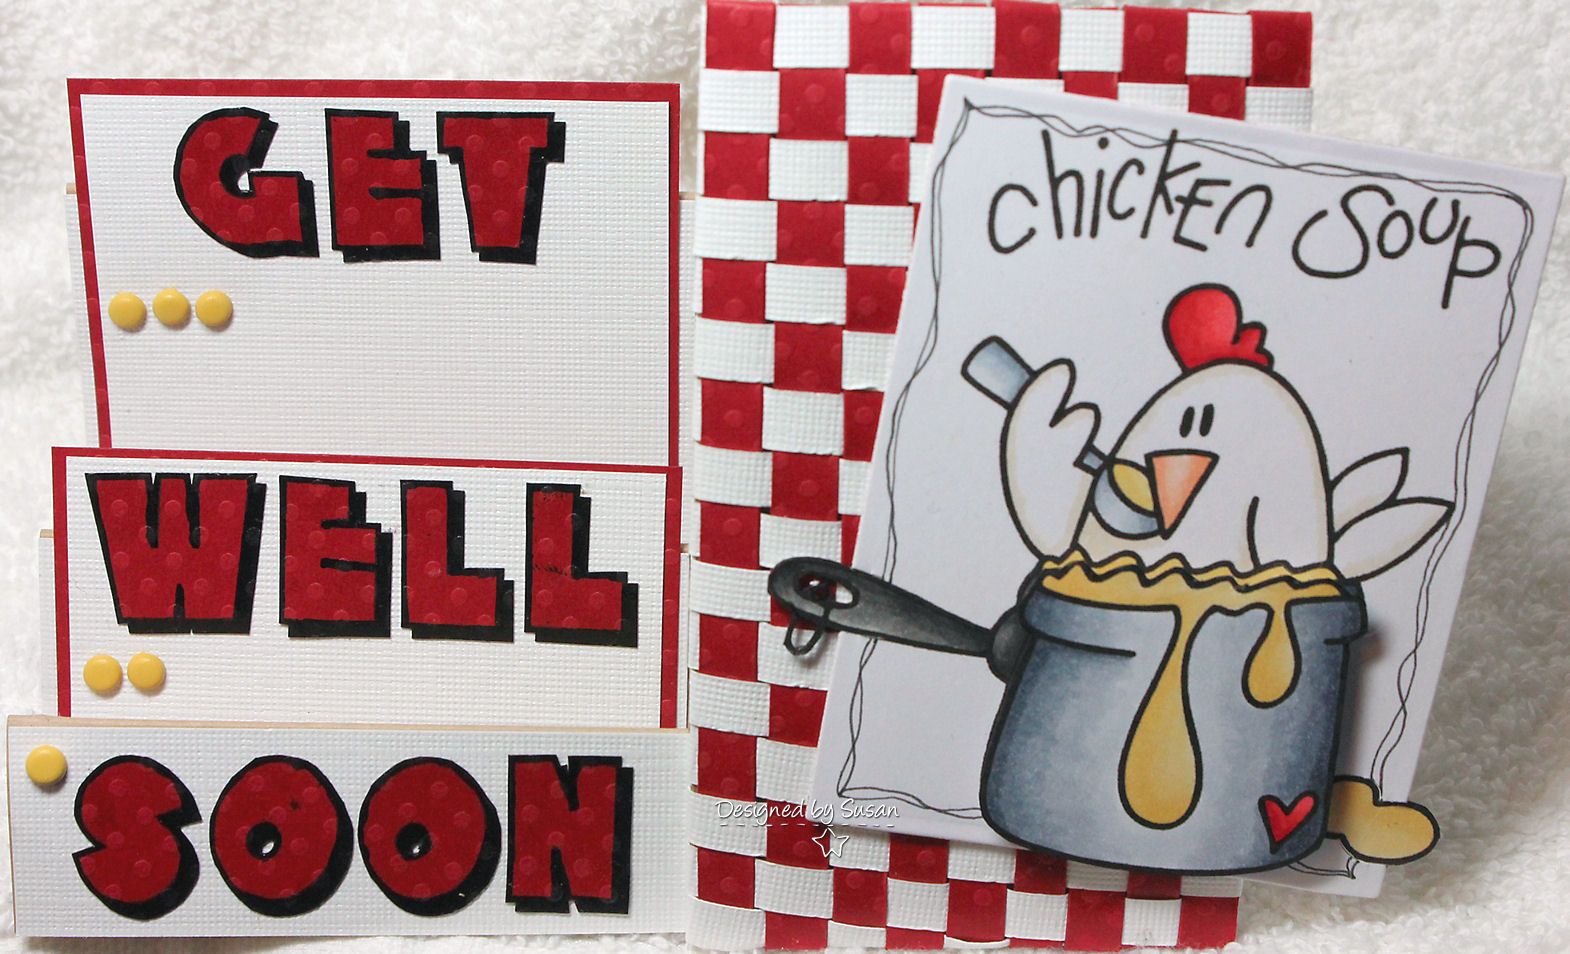
Tammy's Scrapin Corner is playing with Challenge #68 this week. Our theme this week is to create a Step Card... any kind of step card. I have done two cards for this challenge:


For this card I used an image from our sponsor SKdigis - Beach Scene. I created a step card, but I colored two of this image and I wanted to use them both, so I also used the waterfall technique. A small waterfall LOL, but a waterfall just the same.I colored these images with my Prismacolor Pencils. I added twine on my pull and an eyelet beach ball as well. I used a stamp for the sentiment and at the bottom I layered torn paper and I used chalk to add some detail.  And that is my first step card.

Challenges:


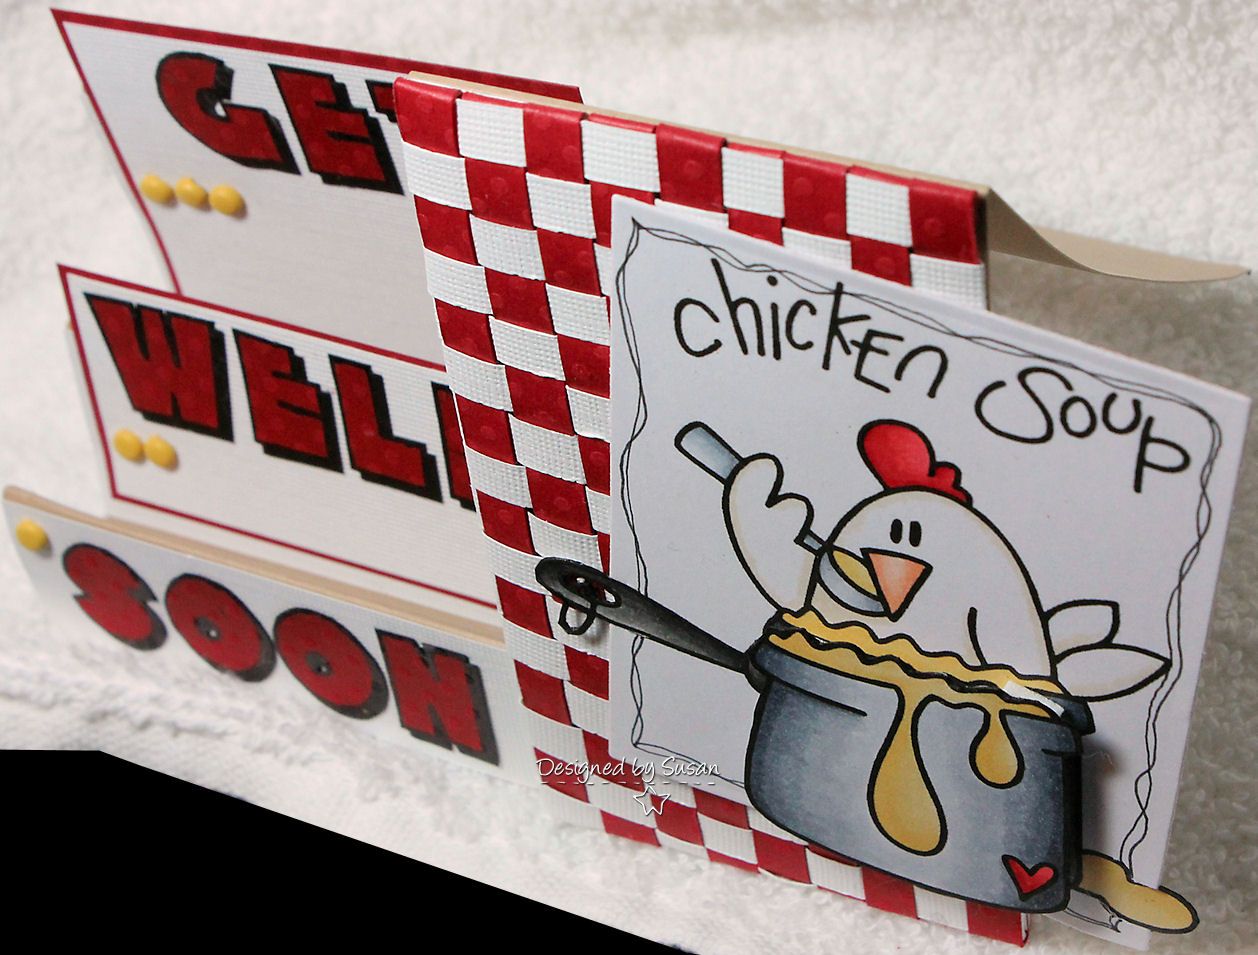
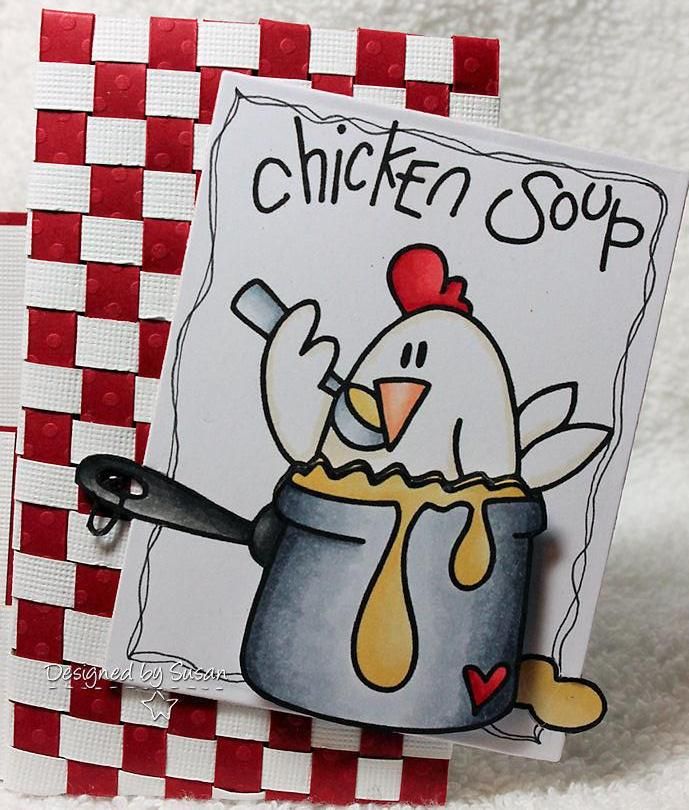
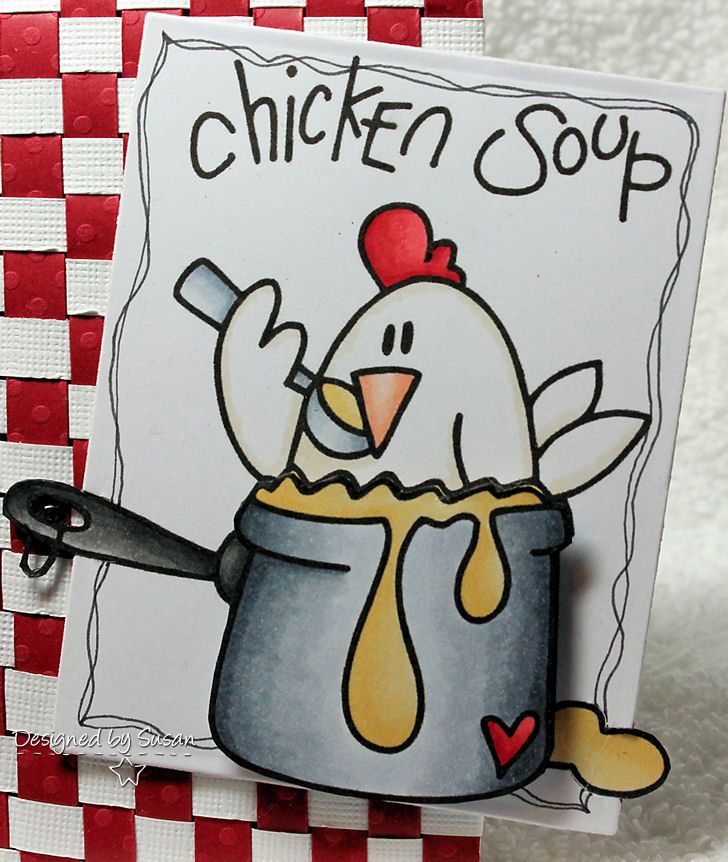
For this card I used our other sponsors image, Kitchen Chicken Soup - Bugaboo. For this card I spent a lot of time weaving the white and the red paper LOL I cut 1/4" wide strips and when I had them woven I glued them down onto a piece of chipboard. I used one of my Spellbinders dies. I doodled around the edge of it with a 005 Prismacolor Pen. I colored the image with Copic and I layered the pot. I added the sentiment on the left side which I printed on my red paper and cut out. I added the brads under the words just to add that little bit of yellow to bring it all together. 

Copic: 
Red: R22, R24, R27, R29
Yellow: Y23, Y32
Pot and Spoon: C1, C3, C5, C7
Handle: T3, T5, T7, T9
White Highlight: E41

Challenges:


Thursday, May 16, 2013

Meljen's Designs Plays Words With Friends

Good morning everyone. It has been a long week so far. I'm so happy it is finally Thursday. And I have so much to do at work. I'm hoping I can really bust it out today. Taylor got a job for a couple of days. The kids only have one more week of school after this week. Michael is in his extra math classes until Friday. Bailey is waiting to find out this week if she gets accepted into the Honor Society. Kevin is feeling much better.. its only a 24 hour type bug.. REALLY icky bug though!!! But I'm really glad he is feeling better. And that is about it. I haven't gotten any crafting done this week. I've been so tired and I've been going to bed early. Hopefully I can get something done tonight :)

I hope you all have a wonderful day!! And a great rest of your week!! It's almost the weekend!! On to our challenge!

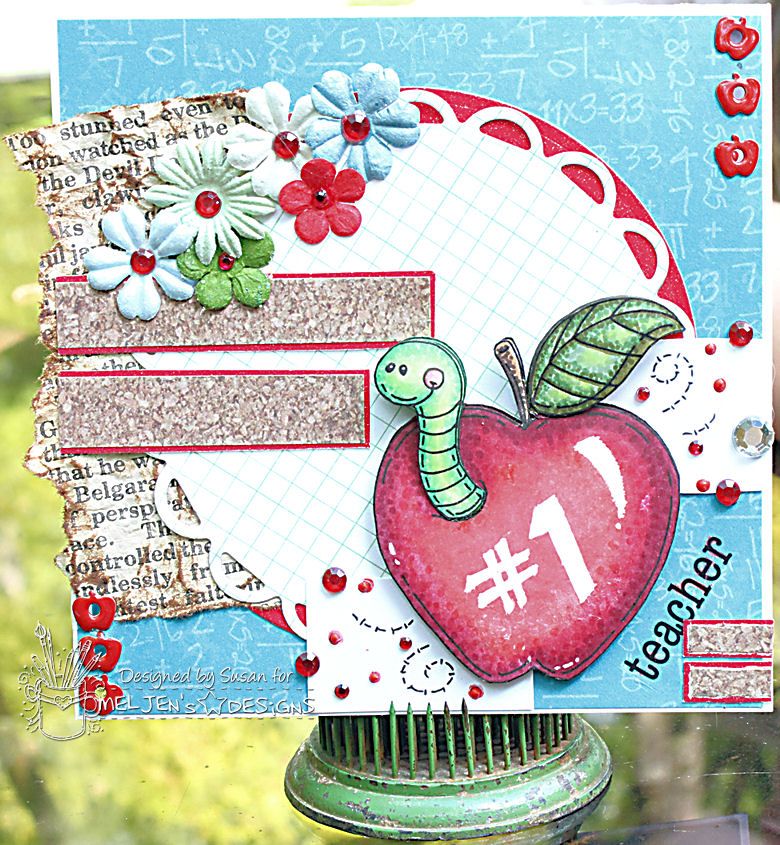
Today is a fun challenge over at Meljen's Designs. Our challenge this week is Words With Friends! For this sketch I used a piece of a page of a book. Here is my card for our challenge this week!


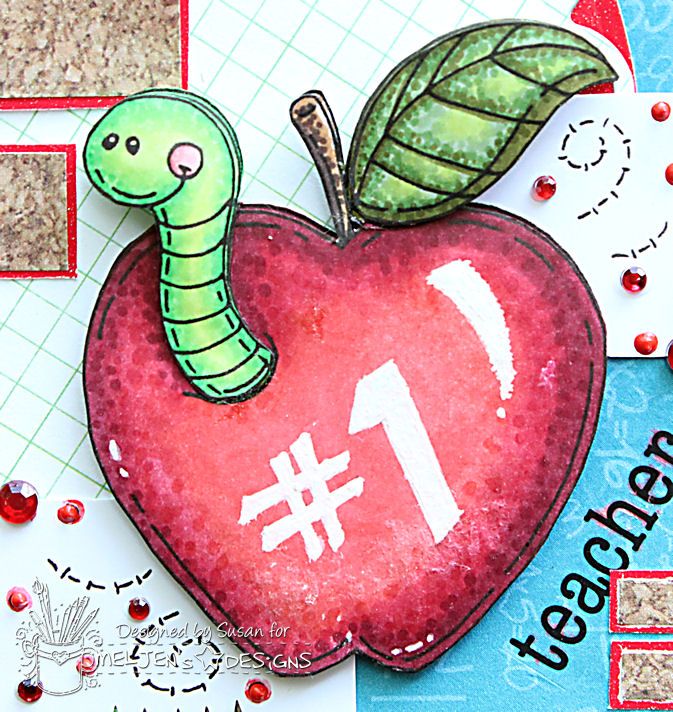
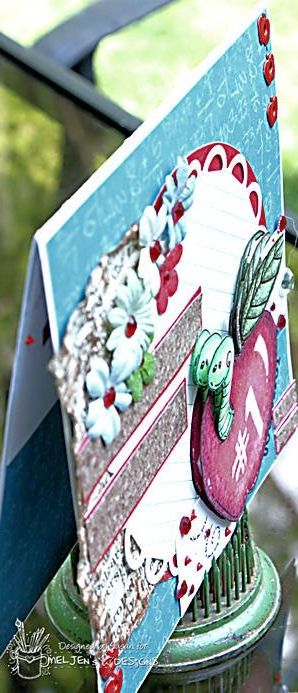
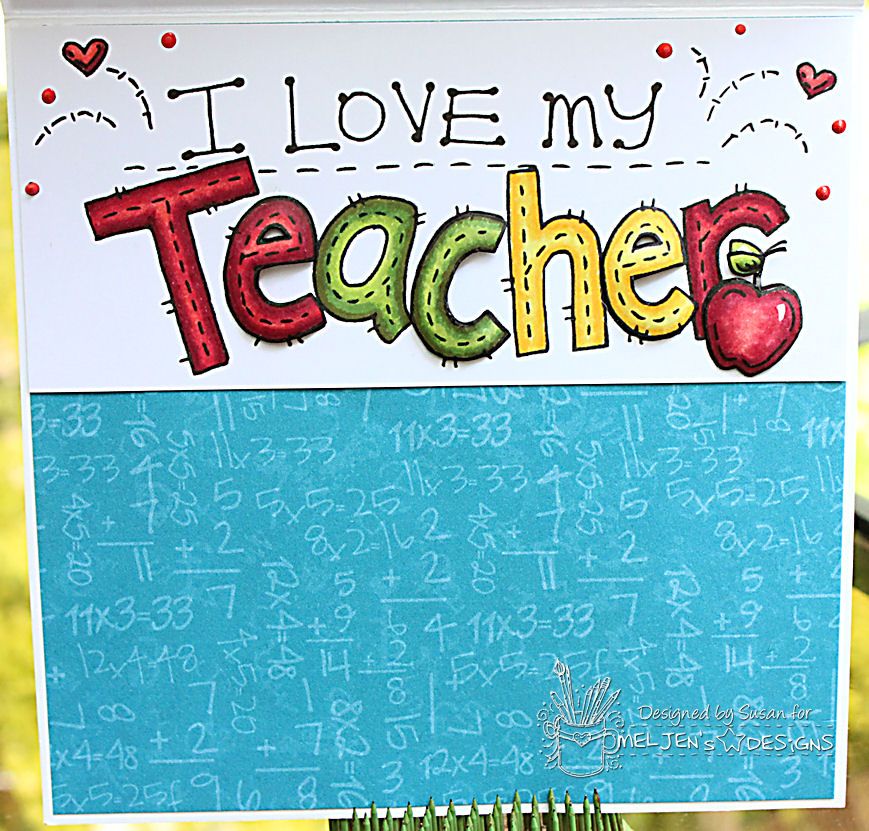
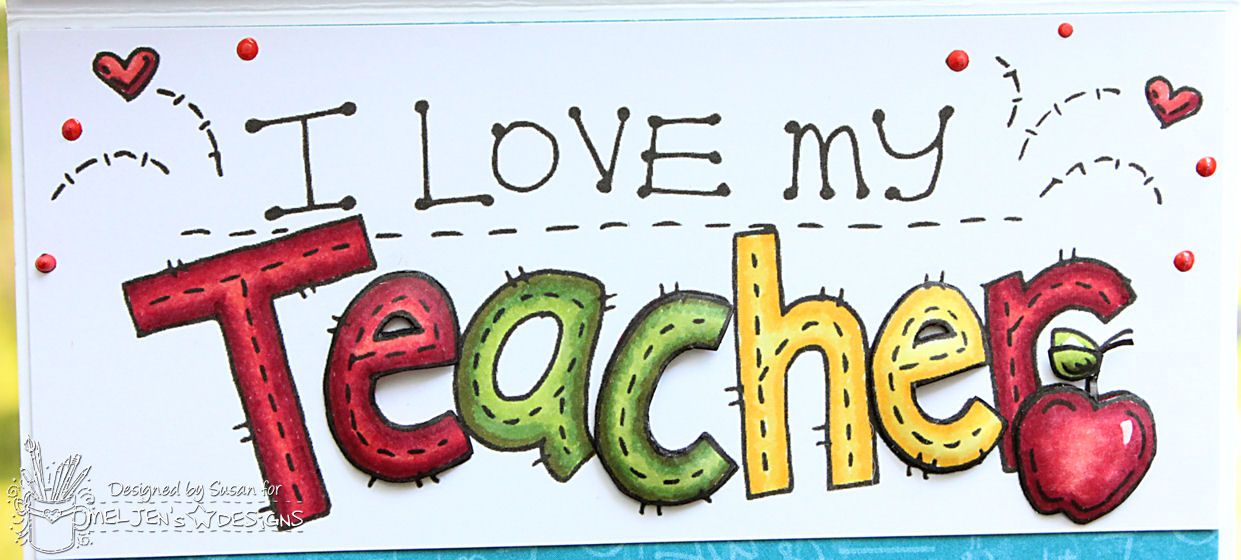
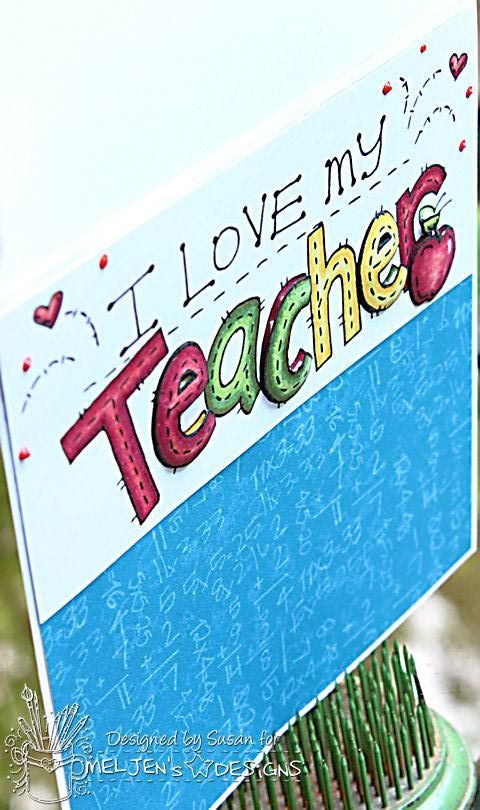
On this card I used two different images from Meljens Designs - I Love My Teacher and Little Apple Worm. I used scrap papers that I had to complete this card except for the base. I used several Spellbinder die cuts, flowers, gems, eyelets (apple), a page from a book, ink, and red puff paint. I colored the image with Copic and I decoupage/popped a few pieces on the card. On the front I popped the worm and the apple and leaf and on the inside I popped several letters in Teacher and the apple.

Copic:
Red - R24, R46, R39, R59
Yellow - Y11, Y13, Y15, Y17
Green - YG03, YG63, YG67, YG99


Challenges: